Search Ad Location Targeting: How to Choose the Right Area for Your Business
- #search ad location targeting
- #Naver search ads
- #local advertising
- #local listing ads
- #shopping search ads
- #trade area analysis
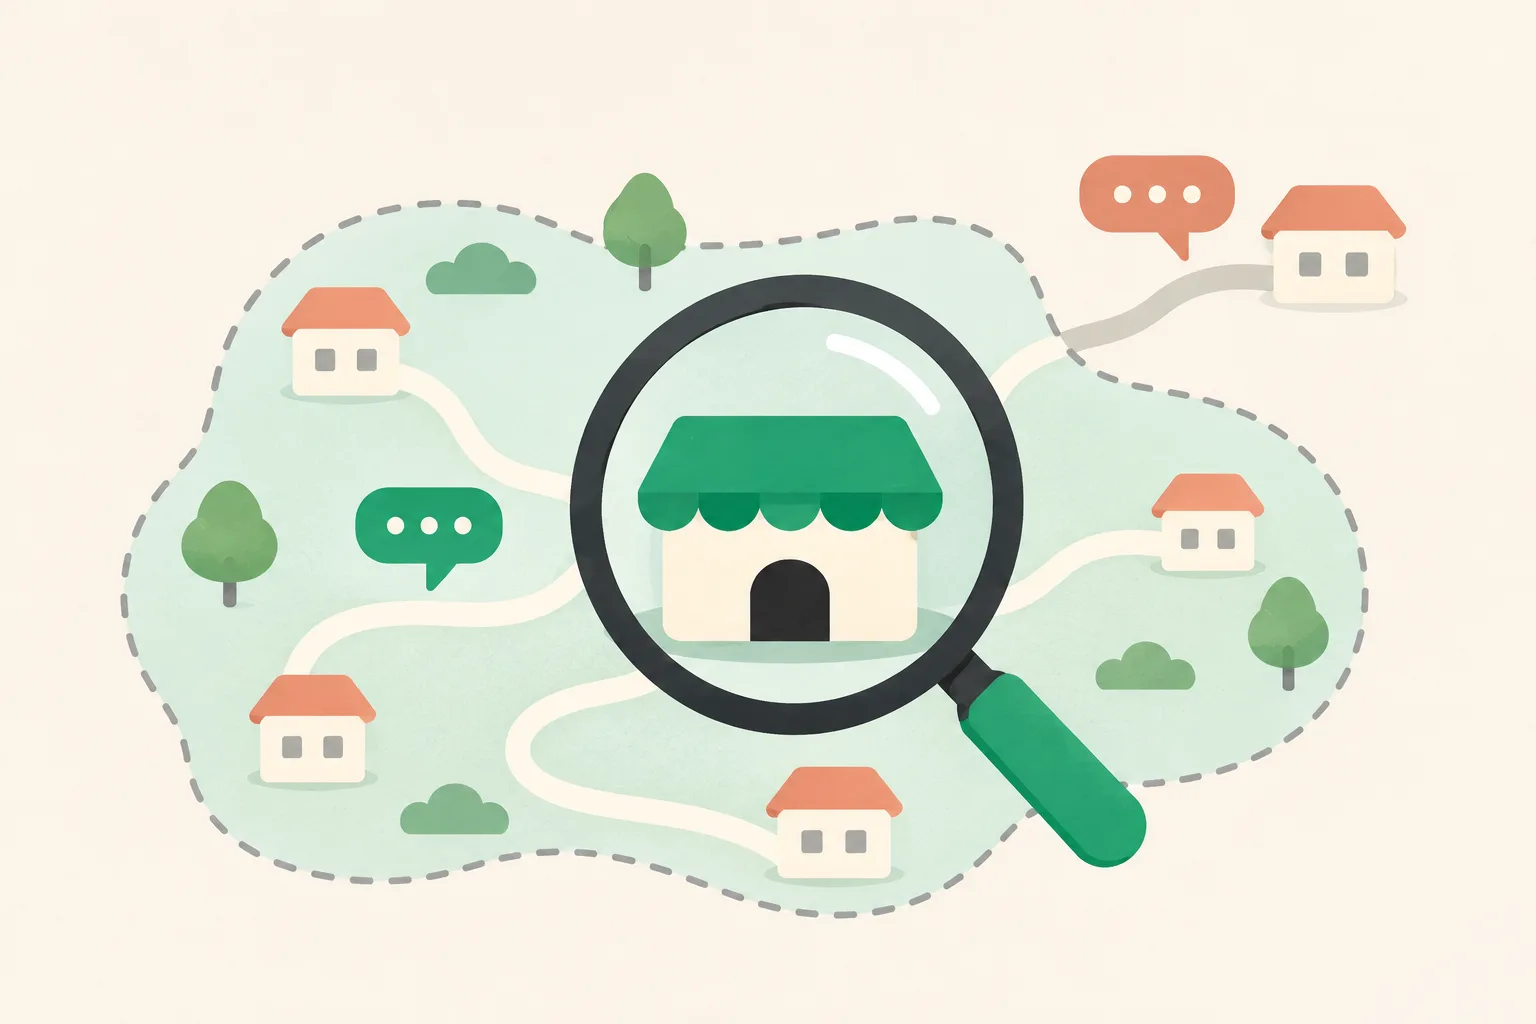
Who this guide is for
- Business owners who want to adjust their targeting because inquiries are coming from too far away
- Advertisers who want to understand how location settings differ between local listing ads and shopping search ads
- Shops on a tight ad budget that need to decide which neighborhoods to reach
Open the ad group, check which location settings your ad type supports, and apply the settings you need.
Naver Ads, the advertising platform for South Korea’s Naver search engine, directs advertisers to open “Edit Location Targeting” in the ad group, choose how ads are shown, and add locations. Its general targeting guide also covers searching for an area or setting a radius around a point on the map.
The available options depend on the ad type. Check the help article for the ad type you’re running and confirm the options in your ad dashboard.
Including your service area in the ad group name makes it easier to manage campaigns. Verify the areas where your ads can appear in the targeting settings themselves.
Place Search Ads let you choose where ads can appear. Shopping Search Ads let you choose where to exclude them.
According to Naver Ads’ help articles, Place Search Ads support targeting by local administrative district, such as a town or neighborhood. Shopping Search Ads lack location-based bid adjustments and location reports.
| What to check | Place Search Ads | Shopping Search Ads |
|---|---|---|
| How location targeting works | Show ads in all areas or select specific areas | Choose areas to exclude |
| What to look for in setup | Target individual towns or neighborhoods | Ads are eligible to appear in all areas by default |
| What to review over time | Check whether the selected neighborhoods reflect where customers can realistically come from | Check whether exclusions match the areas you sell to |
Shopping Search Ads use where shoppers are located or which areas they’ve shown interest in. That can differ from the shipping address they enter at checkout.
If a product has shipping restrictions, list the areas you ship to in the product details. Aligning your ad settings with the information shoppers see before checkout can help reduce cancellations and avoidable inquiries.
Base your ad coverage on how far customers are likely to travel and where your business can provide service.
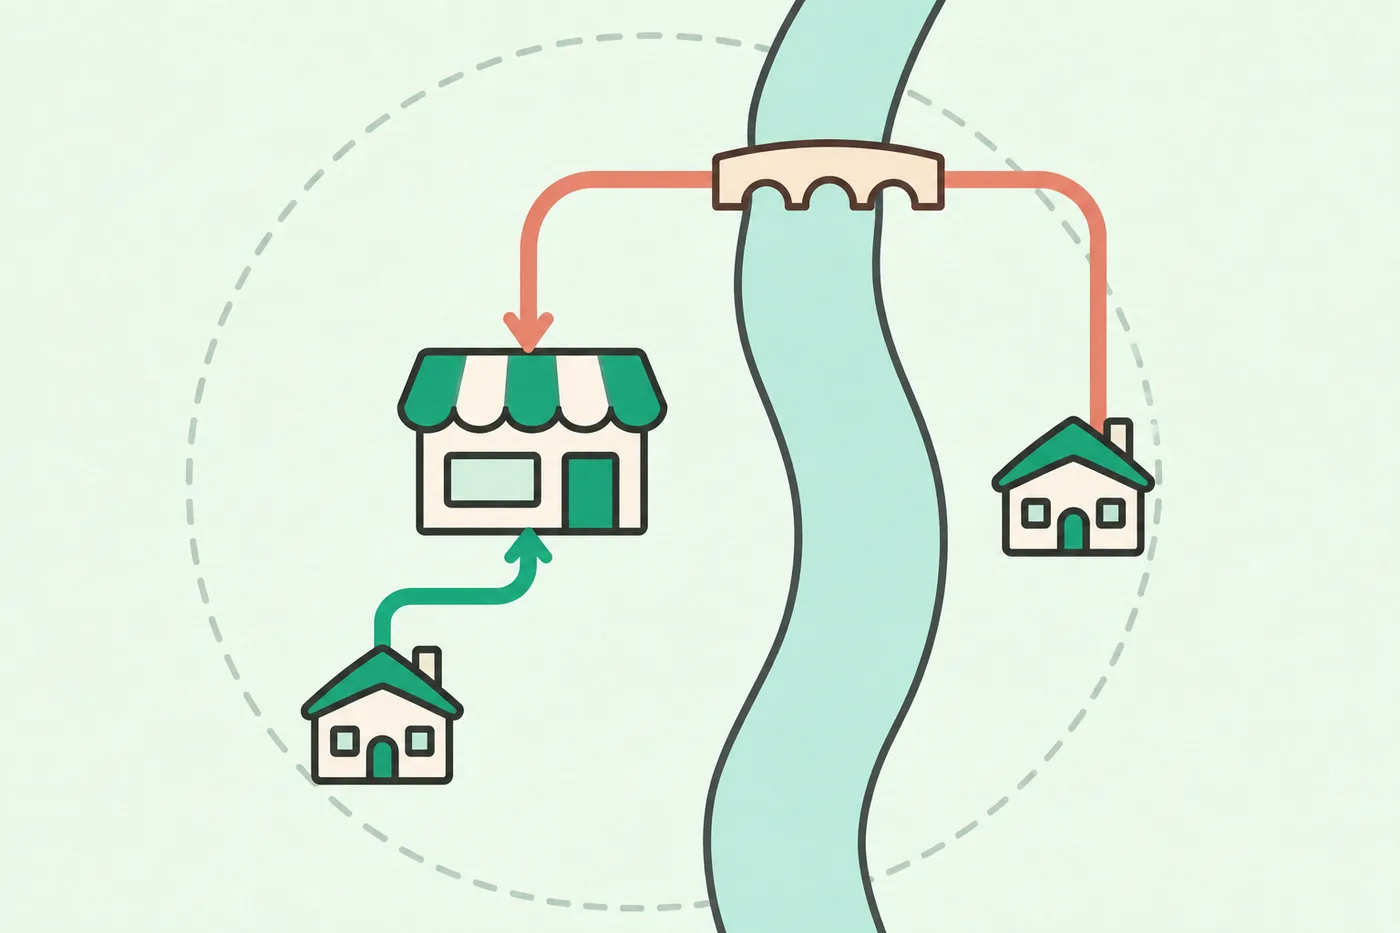
A neighborhood can be within a 2 km radius and still require a river crossing. Assess it separately from a neighborhood where customers can easily walk to your shop.
Someone who drops by a café regularly has a different reason to make the trip from someone who books a specialist treatment. If you use distance alone, you might miss nearby demand or include areas where customers would struggle to reach you.
Use both the distance on the map and the routes your customers actually take when setting your ad coverage.
Start by noting where recent customers came from. A neighborhood or the station they traveled from, if it comes up naturally in conversation, is enough to help you decide. You can skip collecting exact addresses.
Record why customers came in, too. The same distance means something different to someone stopping by on the way to work and someone traveling for a specific service. Treat a visit from farther away as one data point before expanding coverage across the whole area.
After narrowing your target area, track both your ad spend and how many inquiries your business can actually serve.
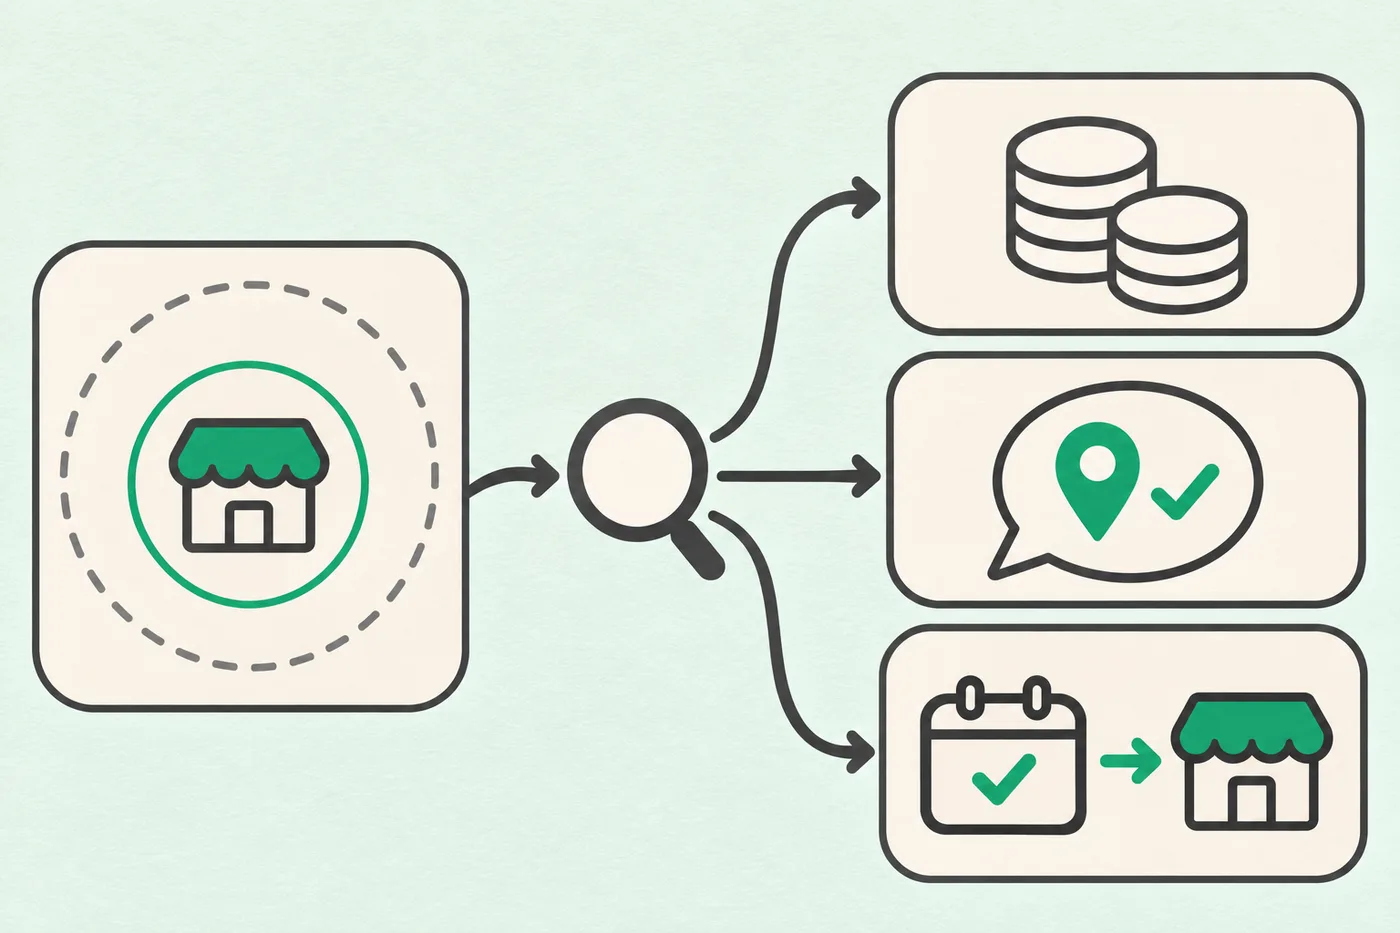
Say you spend ₩30,000 on ads. With three qualified inquiries, you spend ₩10,000 per inquiry. With six, you spend ₩5,000 per inquiry.
These hypothetical figures show how to make the comparison. Count an inquiry as qualified when it’s for a service your business can actually provide.
Reducing coverage can also mean fewer chances to reach customers who could visit. Weigh any drop in spending against the inquiries and visits the ads generate.
Since Shopping Search Ads lack location reports, use the locations customers mention as a partial record. Some inquiries will come in without any location details.
Changing your target area, ad copy, and bids together makes it hard to tell what drove the results. When you adjust the area, keep the other settings steady while you compare results.
Record your current location settings, then review the areas where inquiries fall outside what you can serve, one at a time.
For example, adjust only the target area this week and review the inquiries at your next check-in.
Naver Ads’ help article for Place Search Ads says it can take up to three hours for delivery to reflect your settings. Allow for that delay before checking search results and making another change.
Location targeting also has technical limits. Naver Ads says Place Search Ads can appear in excluded areas, so treat an isolated out-of-area inquiry as one data point when reviewing the setup.
If out-of-area inquiries keep coming in, review both your targeting settings and how your ad copy describes your service area. A phrase like “on-site service available” can sound broad. Name the areas you can actually visit.
Yongwoon LeeContent Lead, Cresco
At Cresco, designs how blog, local listing and Instagram content is run for clients such as clinics, and plans and reviews the articles on this blog.
Small-business marketing · SEO · AI search (GEO) · Naver Place · Content strategy
Location targeting controls the geographic areas where your search ads can appear. Depending on the ad type, you can choose areas to include or specify areas to exclude.
Start with the areas your business can realistically serve. If customers visit you, note how they can get to your location. If you travel to customers, map out how far you can go. Adjust your coverage as inquiries come in.
Orders can still come from excluded areas. Targeting uses where shoppers are located or which areas they’ve shown interest in. State clearly where you ship before customers place an order.
First, confirm that your settings have taken effect and that your ads are showing. Changing the area again right away makes results harder to compare. Review your ad spend and the inquiries you received before deciding what to change next.